Popular Post
Showing posts with label banners. Show all posts

Monday, June 27, 2011

Shop update!!!


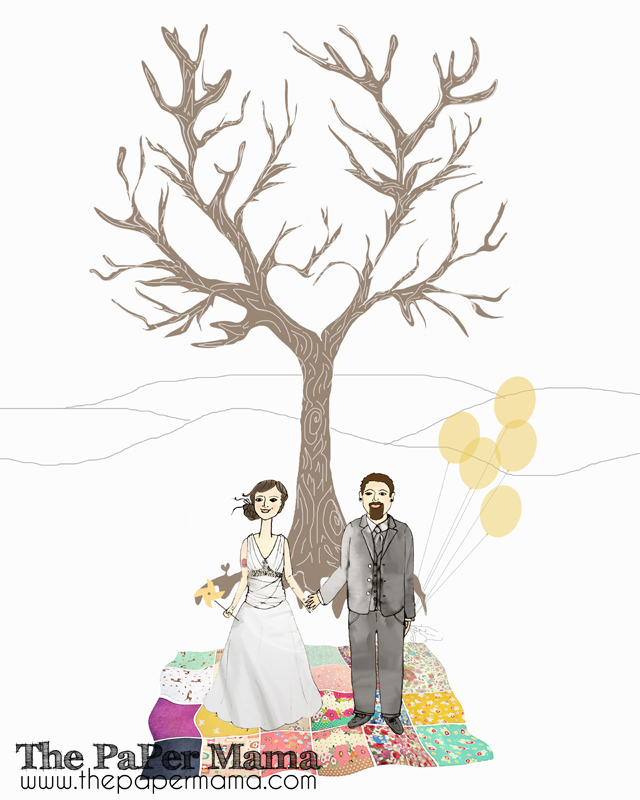
Say hi to my most recent finished custom drawing! This was created for Melissa from Hi, Baby. She wanted a thumbprint tree for her upcoming wedding... Don't know what a thumbprint tree is? Well... instead of your wedding guests signing a guestbook... they all mark their thumbs around the tree branches to create leaves! Please, check out my shop if you're interested!


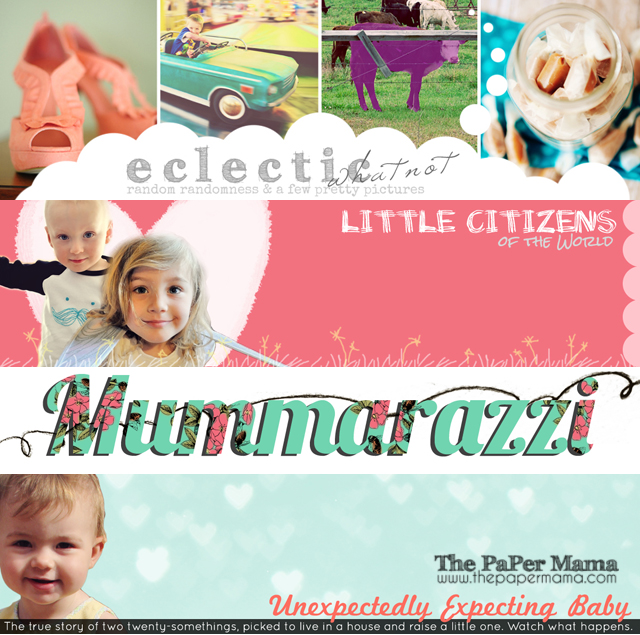
Some banner creations:

The first banner is for Ruthanne of Eclectic Whatnot, followed by Sarah of Little Citizens of the World, Mummarazzi, and Brianna from Unexpectedly Expecting baby. I'd LOVE to work with you! Check out my shop if you need a blog banner!

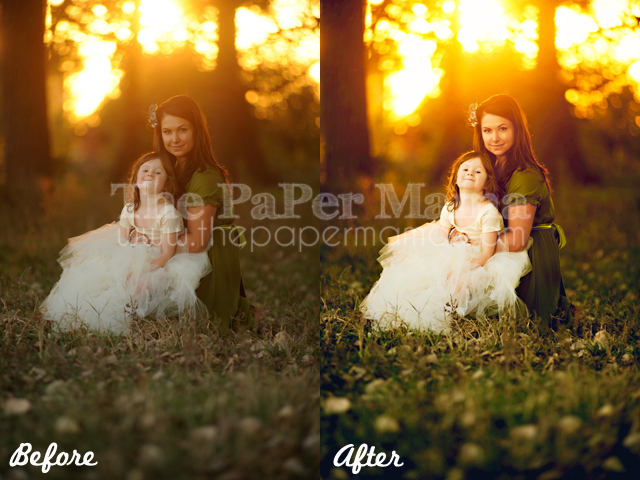
AND... a photo edit:

You can get your photos edited by me in my shop too. :D Check it out!

AND... check out a little Monday's are Awesome interview by Mandey at Mama and the Dudes! Funny questions. :)


AND... can I get a vote for my blog?
Help Our Rank & Visit Top Baby Blogs, Baby Blog Directory!

Chelsey

Friday, June 10, 2011

Shop update: more drawings and banners!


I've been drawing and creating banners like crazy! I'm a busy girl... It's hard to find to do anything while being a stay-at-home mom.... BUT, I can do it. And, am doing it... slowly... but, I am. :) The first drawing was for Tricia of Desperately Seeking Silence. She told me to just go crazy! So, I did. Well... I could have gone even more crazy... but, I'm happy with how it turned out!


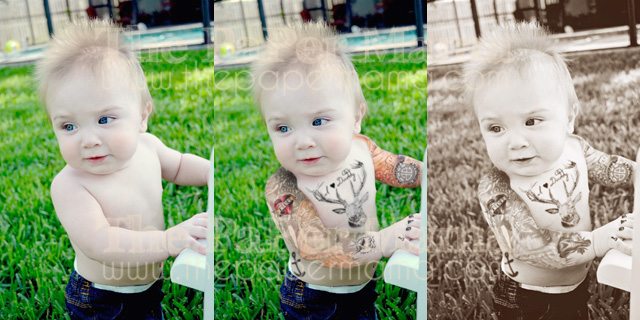
This cutie is the grandson of a lovely lady that owns a tattoo shop. She thought it would be cute to hang up in her shop.


AND: Many banners... this isn't all of them... just a sampling of what I've been creating. :D Who are these for? Here: This little port, BluEye Blog, Hella Kids, Little Red Buttons, and The Monfort 3.

You can get your own banner... button... drawing... or tattooed baby at my shop: The Paper Mama Shop! yay! Check it out.

Photobucket


AND... don't forget... if you'd like to sponsor me for BlogHer '11.... click the button below. Thanks everyone!

Chelsey

Tuesday, March 15, 2011

What I've been up to...

Happy Tuesday everyone! I have been so crazy/awesome busy with my shops and I just wanted to share with all of you what I've been up to... LOTS of blog banners.... tattooing babies... paper crowns... there are so many. I wont share ALL of them... but... here are a few:

Blog banners:


This is the blog banner and button I created for the lovely Wendy over at Letters to Hannah. It's a combination of my drawings and some photoshop goodness. Please, give her cute little blog a visit! Hannah's adorable!


Courtney over had Daily PawPrints requested a banner with the skyline of her city in it. I added her dog, Mack, to watch over the city.


Fiona from Letters to Littles wanted to update her blog header because her Letters to Little blog would soon be turning into a Letters to LittleS blog! Give her a visit.


Tattooed Baby:


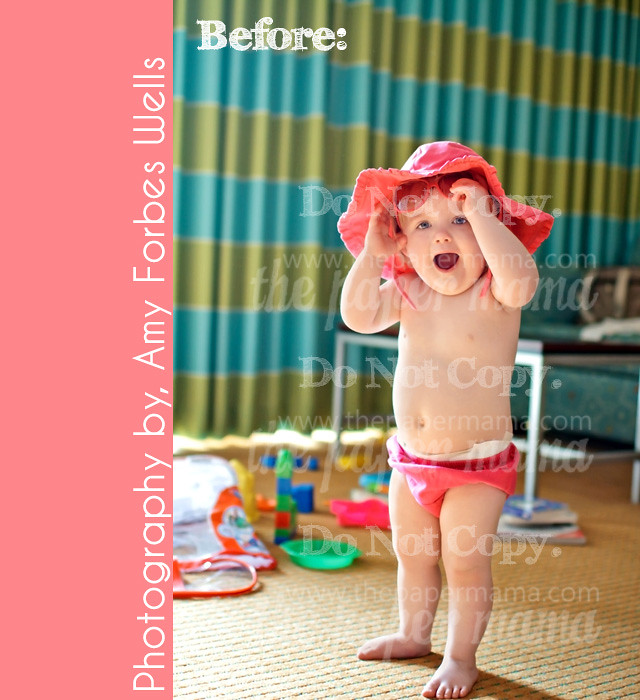
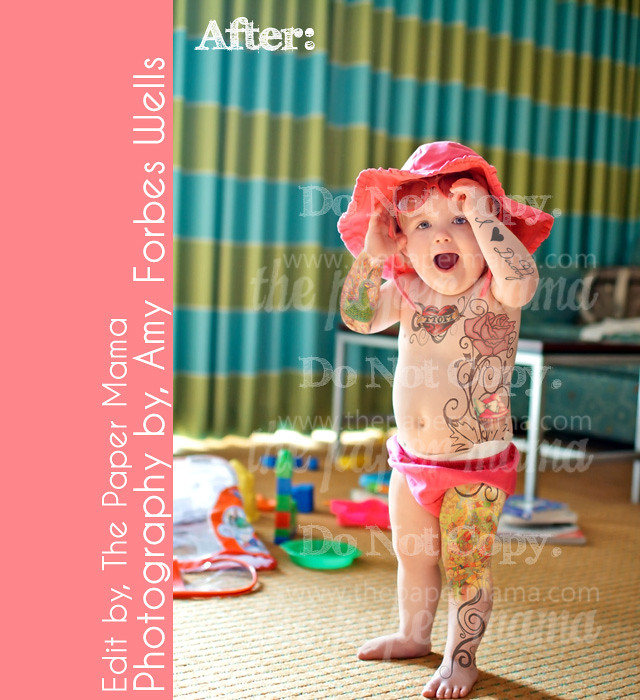
 I was lucky enough to tattoo little Piper (daughter to Amy) from Super-Piper-Callie-Docious. Say that 5 times fast! ;D Please, give her blog a visit! She's a very talented photographer. (And, yup... I put a ton of watermarks all over her. I don't want creepers to steal).


Paper Crown:

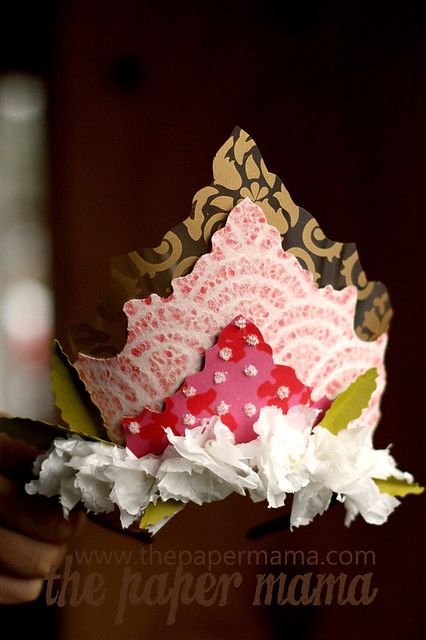
I made this crown for a fellow blogger to give to her friend... I don't want to say her name just in case... for whatever reason... the bride-to-be might read my blog. I have no idea if she does or not... but, better safe than sorry! :D There is a title that is on the crown... but, I didn't want to share that... just in case. :D


LOTS of drawing...


Ever since I drew these and made this banner for Mandy at Harper's Happenings:


I've had SO many requests for custom drawings. I have 3 custom drawing orders right now. I really need to say THANK YOU so much to Mandy! I hadn't drawn anything since I was pregnant. Then she saw a couple of my drawings in my Etsy shop and wanted me to draw her and Miss Harper. Thanks Mandy!


AND.... I'm slowly (but, surely) finishing up the next grouping of blogs into my Paper Mama Blog Directory... I've had a LOT of positive feed back since I launched it a couple of weeks ago. Tara from Our Journey has said that she's been found through my directory by people that are going through the same things that she has dealt with.

1 our journey

So... that's what I'm up to... along with blogging of course! One more thing... I'll be accepting new sponsors for the month of April soon! I'll do a real blog post for that later.. but, just a heads up if you're all interested!

Thanks again to everyone that is supporting my business! It's always nice to be able to contribute to the family and help pay the bills! And, I'm getting closer and closer to my savings goal to go to BlogHer '11. Yay!

Chelsey
.............................................................................

BlogHer 2011!

Friday, December 10, 2010

TUTORIAL: Tiny ribbon banner


Eight more days till Ruari's first birthday party! I mentioned a while back that I was keeping to a small budget for birthday decoration. Well, I did it. I spent $67 on all party decor, invites (including postage), candy, favors, and dessert. I was $2 over... But, I think I'll let that slide. :D

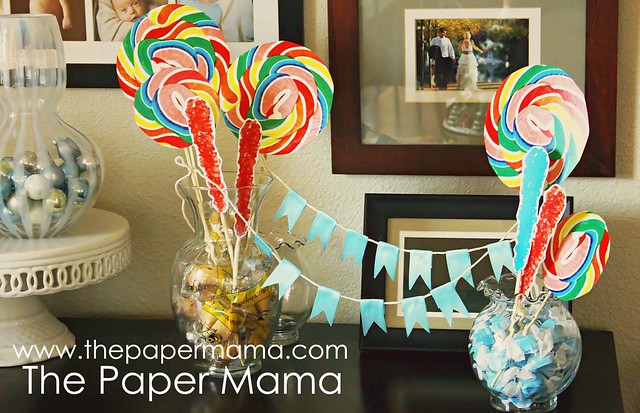
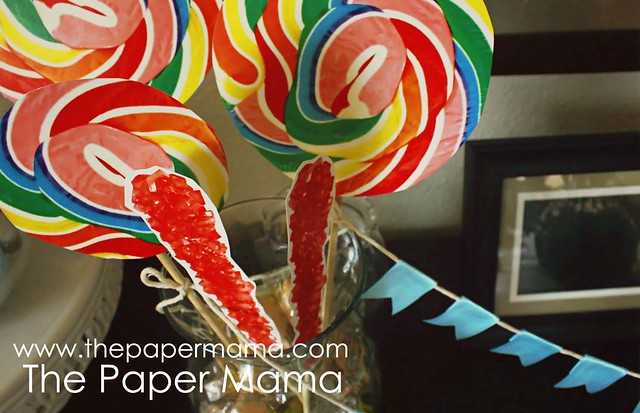
So, I had all this ribbon left over from the wreath I made a month ago. I decided to make a tiny banner to string in between the candy decoration I've assembled. Cute?


Here's how I did it:

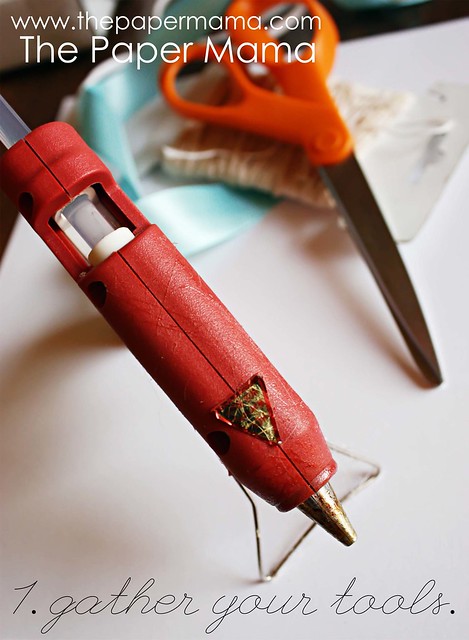
1st: Gather your supplies. You'll need scissors, string of some kind (we use this in our kitchen), ribbon, and hot glue.


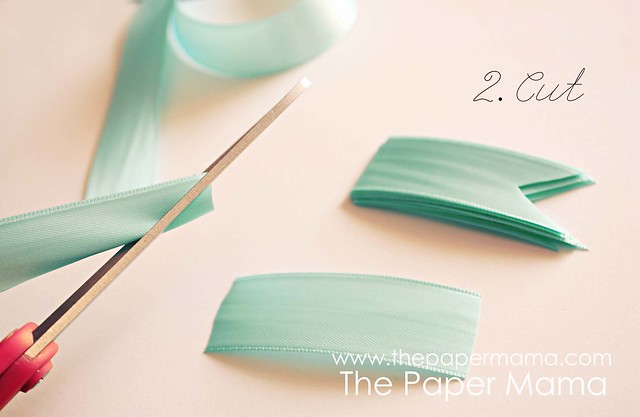
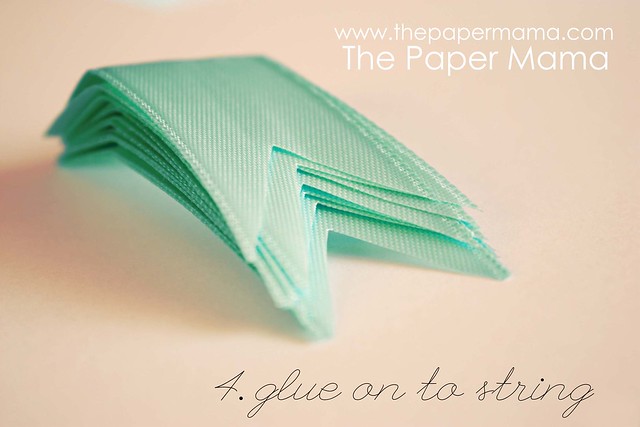
2nd: Cut out 2 inch long strips of your ribbon (you can adjust this depending on the width of the ribbon). Once all your 2 inch strips are cut out, cut a triangle out of one side of each strip. You can do this by slightly folding the ribbon in half and cutting at an angle from the folded side to the open side.


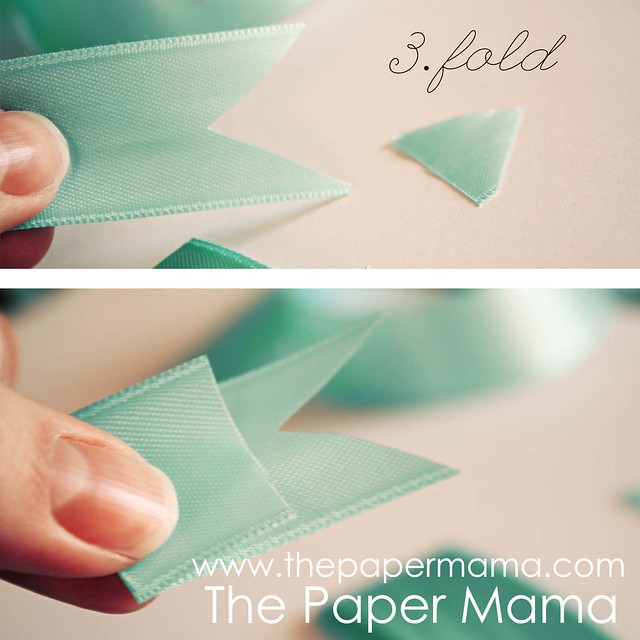
3rd: Next, fold down the non-triangle side of your ribbon. How much you fold down will depend on how long you want each strip. I folded about a half inch down.


4th: Once all the strips have their folds, start gluing onto your string! It's TOTALLY up to you on how long you'd like your string and the spacing in between each strip.


When you're all finished you can tie these little banners up in between some "lollipops" like I did below, or it would be REALLY cute as a little cake decoration!!! If you use this tutorial, let me know! I'd love to see what you make!

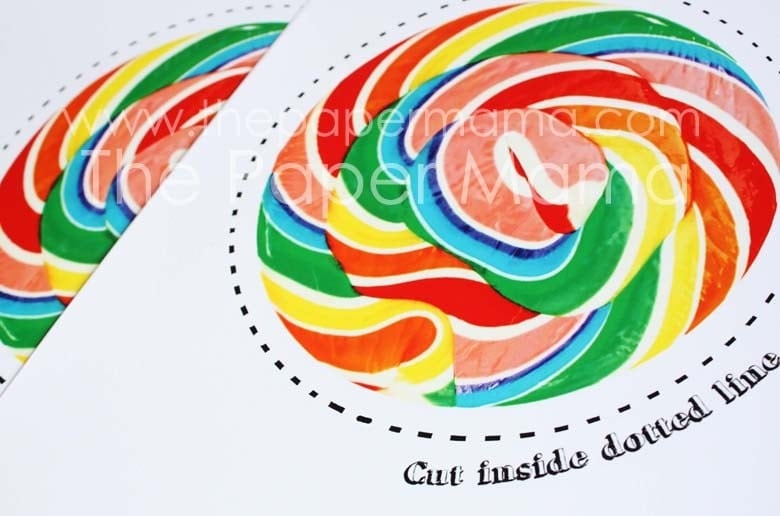
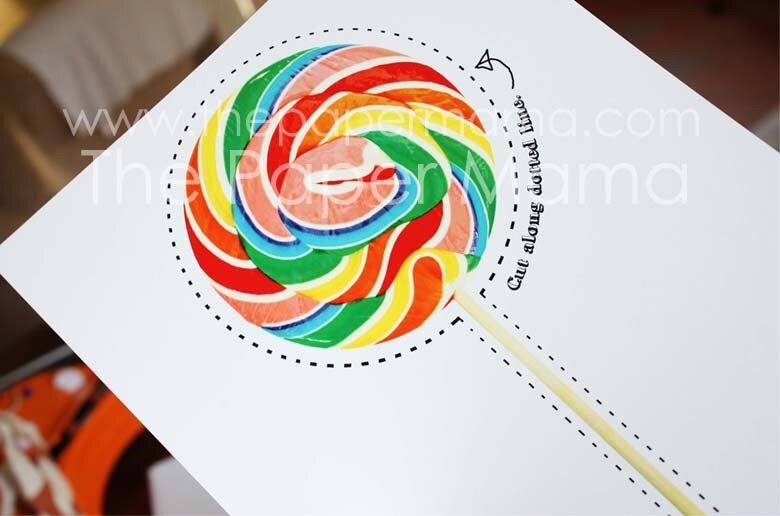
By the way... do you like my paper lollipops? I couldn't get myself to buy more than one $4/lollipop. SO, I've created a picture that YOU can buy from my shop! It's SO much cheaper than buying many many lollipops! For $5 you get my lollipop JPEG to print out as many prints as you'd like... then glue on some wooden skewers: and ta dah!!!


Here are what the print outs look like. I went to Office Depot to print mine for 60 cents a copy.


If this tutorial totally rocked your socks off...
Can you give my blog a vote?
Vote For Us @ TopBaby Blogs! The Best Baby Blog Directory


Would ya could ya? Vote for me?
Vote For Us @ topbabyblogs.com!