Popular Post
Showing posts with label craft tutorial. Show all posts

Friday, December 10, 2010

TUTORIAL: Tiny ribbon banner


Eight more days till Ruari's first birthday party! I mentioned a while back that I was keeping to a small budget for birthday decoration. Well, I did it. I spent $67 on all party decor, invites (including postage), candy, favors, and dessert. I was $2 over... But, I think I'll let that slide. :D

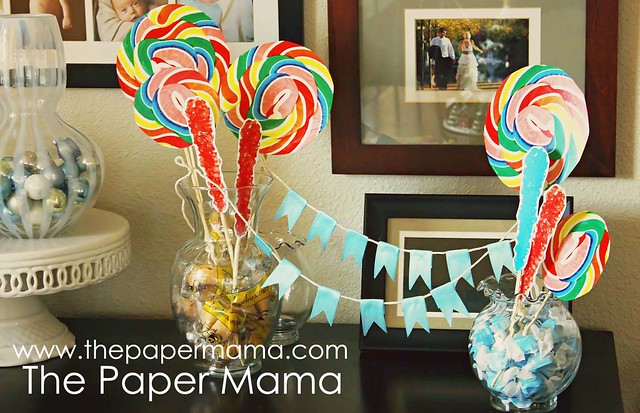
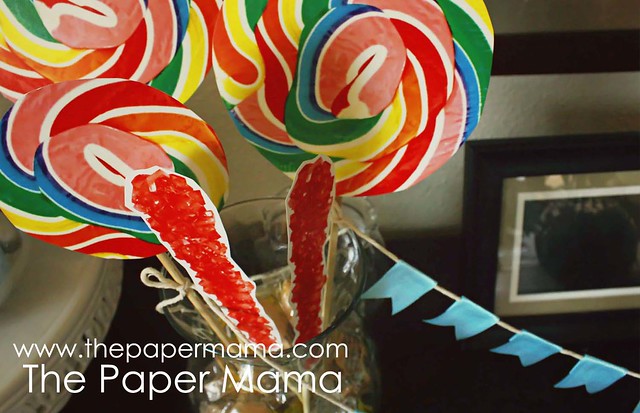
So, I had all this ribbon left over from the wreath I made a month ago. I decided to make a tiny banner to string in between the candy decoration I've assembled. Cute?


Here's how I did it:

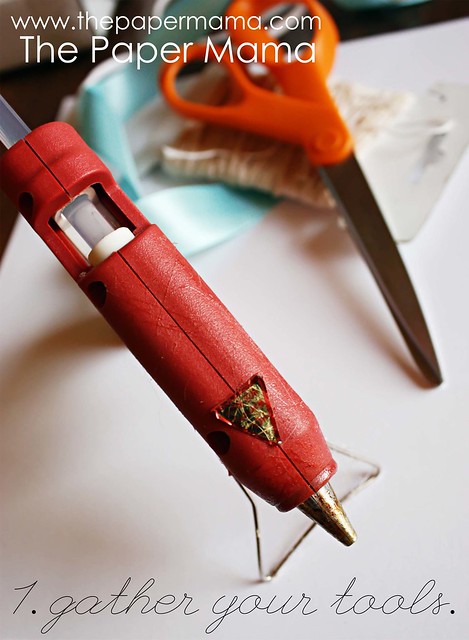
1st: Gather your supplies. You'll need scissors, string of some kind (we use this in our kitchen), ribbon, and hot glue.


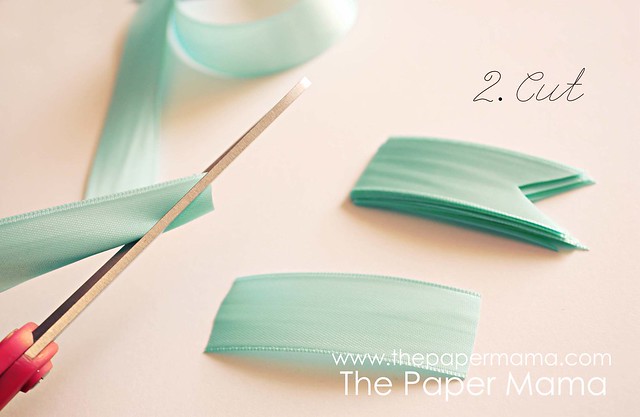
2nd: Cut out 2 inch long strips of your ribbon (you can adjust this depending on the width of the ribbon). Once all your 2 inch strips are cut out, cut a triangle out of one side of each strip. You can do this by slightly folding the ribbon in half and cutting at an angle from the folded side to the open side.


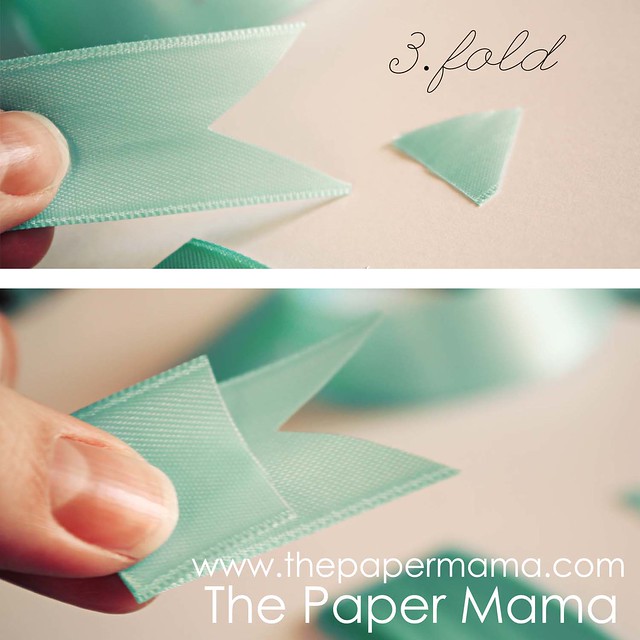
3rd: Next, fold down the non-triangle side of your ribbon. How much you fold down will depend on how long you want each strip. I folded about a half inch down.

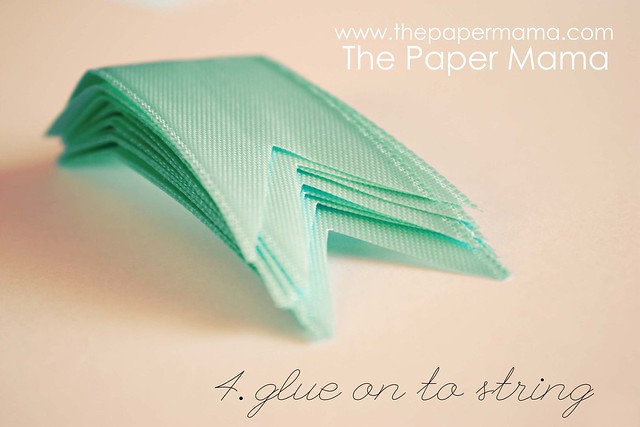
4th: Once all the strips have their folds, start gluing onto your string! It's TOTALLY up to you on how long you'd like your string and the spacing in between each strip.

When you're all finished you can tie these little banners up in between some "lollipops" like I did below, or it would be REALLY cute as a little cake decoration!!! If you use this tutorial, let me know! I'd love to see what you make!

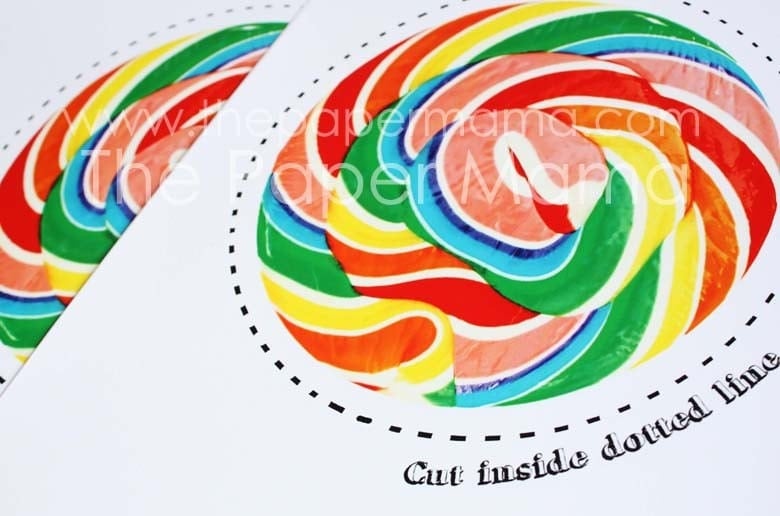
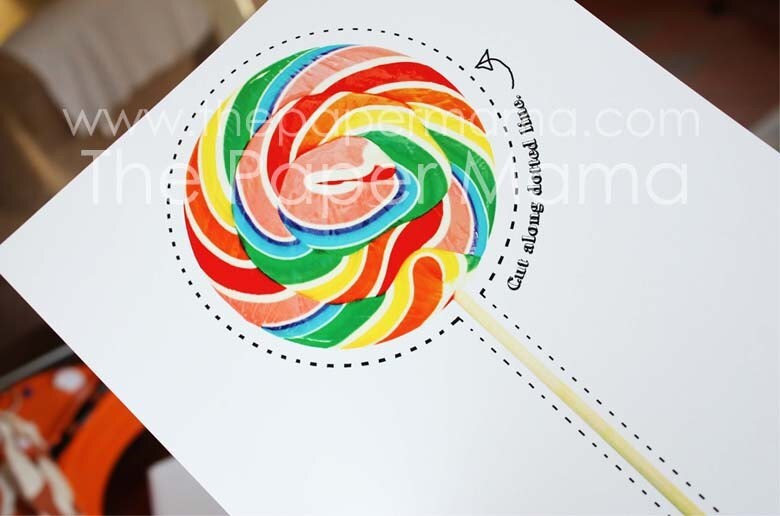
By the way... do you like my paper lollipops? I couldn't get myself to buy more than one $4/lollipop. SO, I've created a picture that YOU can buy from my shop! It's SO much cheaper than buying many many lollipops! For $5 you get my lollipop JPEG to print out as many prints as you'd like... then glue on some wooden skewers: and ta dah!!!



Here are what the print outs look like. I went to Office Depot to print mine for 60 cents a copy.

If this tutorial totally rocked your socks off...
Can you give my blog a vote?
Vote For Us @ TopBaby Blogs! The Best Baby Blog Directory


Would ya could ya? Vote for me?
Vote For Us @ topbabyblogs.com!

Monday, November 22, 2010

For you to make: Clouds


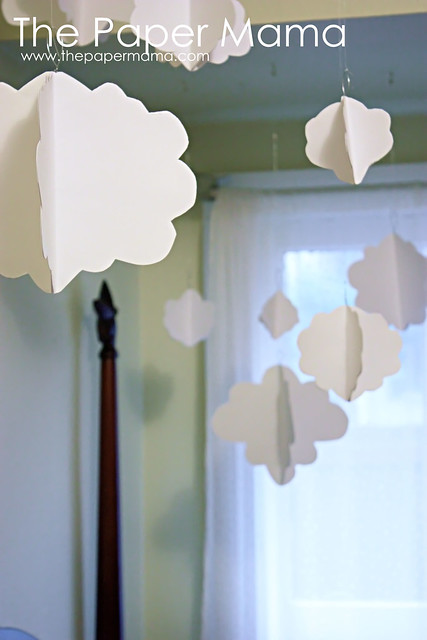
For you: Clouds! I can't say that these came out COMPLETELY perfect or exactly the way I had planned... BUT, I do love them. Maybe if I had some amazing contraption, like the Cricut, I could have cut these clouds out perfectly.


I made a little pattern for you all to print and make your own mobiles! Of course, you could always make your own cloud shapes. It's VERY simple. Have fun, play with different colors, and use some heavier card stock. Share any photos with me if you do make your own cloud mobile.

{To save to your computer, *Right Click* on photo to view image, then *Right Click* again and *Save*}

{To save to your computer, *Right Click* on photo to view image, then *Right Click* again and *Save*}

A vote for me?
Vote For Us @ TopBaby Blogs! The Best Baby Blog Directory


Would ya could ya? Vote for me?
Vote For Us @ topbabyblogs.com!

Monday, November 15, 2010

Tutorial: Gumdrop wreath!


Thanks to Scotch(R) Double Sided Tape for sponsoring my writing about crafts. Add your comment below to be entered for a chance to win free sample rolls to help with your upcoming holiday needs.

..................................

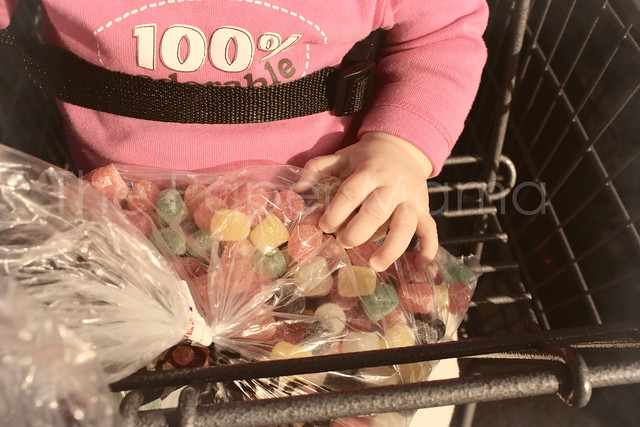
Remember when I Ruari and I went shopping for a massive amount of gumdrops? (if you don't... you can check it out here).

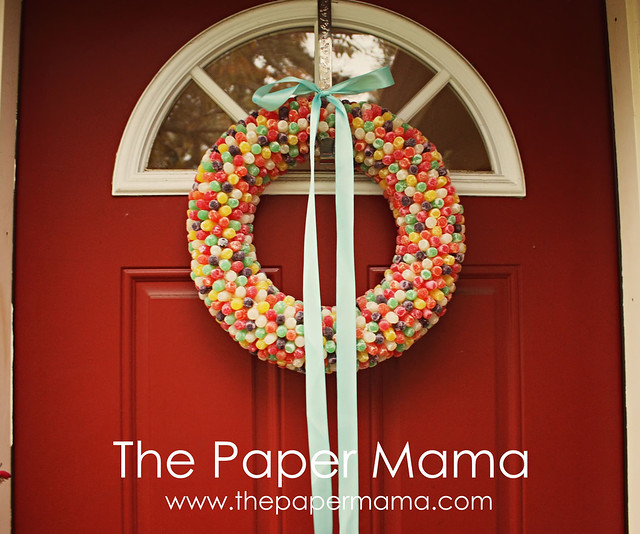
Well, here's what we I did with them! I made a Gumdrop Wreath!!! I plan to put it up on my door in early December. It's just one teeny bit of a massive amount of decor I'm making for Ruari's candy themed birthday party!


Creating this gumdrop wreath is SO SO simple.

Supply list:
- Wreath (you choose the size and type. I went with a straw wreath. It was cheapest. :D)
- Gumdrops. I ended up needing 5 pounds of gumdrops for my wreath!
- Hot glue gun and glue sticks. I probably went through about 30 sticks of glue. Maybe a million. I'm not sure.
- A bowl of water. This is for when you get hot glue on your fingers (cause you will). Dip your hand in there real quick!
- Ribbon.
- Wire (optional)
- Clear acrylic spray (optional)
- Wreath hook.
- Time. It took me quite some time to create!


Step one: Go out and buy those gumdrops! This is a VERY important step! I purchased mine in bulk.


You will probably need a helper for this step.


Step two:
Gather together all of your supplies (see supply list above). Again, a helper is nice. ;D


Step three:
Start gluing the gumdrops (larger side of gumdrop glued down) on your wreath! I chose to leave the plastic that wrapped the wreath on. I thought the glue might adhere to that better than the straw.

Note: because of the sugar coating on the gumdrops, a few will fall off. BUT, just glue them back on. I have extra gumdrops for this.


Step four:
This is optional. You can spray a clear acrylic spray on the wreath to seal it. I chose to do this because I live in Oregon and we get some windy/rainy days.

Step five:
Now that your gumdrops are all glued on to your wreath, you can now glue on the ribbon! Pick any sort of ribbon you'd like! I chose this blue since that is the main color for Ruari's birthday colors. :D Glue it down to the top of your wreath.


Step six:
Place your wreath on your wreath hook. Since this thing is SO heavy, I chose to tie it on to the hook with some wire. That's optional.

Step seven:
You MUST enjoy your wreath!!! :D


If you make a gumdrop wreath, let me know! I'd love to see it!
Amanda at Pretty Little Life made one here!

..................................
Giveaway:
And, Scotch wants to prepare all of you for all your gift giving! Ten winners receive 1 roll each!

How do you win? Just leave a comment below! Everyone that comments below is automatically entered to win. (Just leave a note that you do not want to be in the giveaway). That's it!

Giveaway ends on November 19th, 2010 at 11:59 PM Pacific Time.
..................................

And, don't forget about the Holiday Card Challenge!

If you thought this tutorial was TOTALLY
awesome, I would love a vote!
Vote For Us @ TopBaby Blogs! The Best Baby Blog Directory


Would ya could ya? Vote for me?
Vote For Us @ topbabyblogs.com!

Please learn more about Scotch(R) Double Sided Tape and other Scotch(R) Products, and join the conversation on the Scotch(R) Brand Facebook Page and via Twitter. I was selected for this sponsorship by the Clever Girls Collective, which endorses Blog With Integrity, as I do.